Swaging the Cable
The next project was learning how to make permanent loops in steel cable.
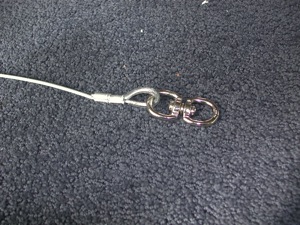
This is done with aluminum ferrels through which the cable travels twice, and a swaging tool for crimping the ferrels around the two strands.
I first made a loop in the end of my hanging cable, making sure to strip the plastic first.
The swaging tool is a screw-based vise; even with wrenches, it was a real pain in the hands to use.
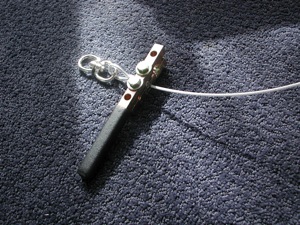
Before permanently creating the loop, I wound the cable loop through one end of a stainless steel swivel.
I also replaced some of the plastic I had removed with more tubing, which gives the cable a thicker look that matches both the rest of the cable and the edges of the sculpture.
Leashing the Beast
The sculpture has one vertex that has a nut with screw threads welded into it, for hanging purposes.
However, it is at an external three-fold symmetry point, and the vertex has minimal strength when pulled from above.
The sculpture's weight can cause the vertex to bow upwards, which is not good for its overall polychoral form.
So I bought thin aircraft cable, rated up to 96 lbs, and some clear plastic tubing that the cable fit through, but which also fit through the nut hole.
I snaked the plastic covered cable through the nut down into the next-most inner vertex, from which three edges rise upwards, and one edge continues straight down—a much stronger support point.
Making sure to wrap the loop around two edges, not one, and adding my own plastic tubing, I then swaged another ferrel to loop the cable to the inner vertex. The tool requires much leverage and force to work, so this was awkward to do in the wireframe's interior.
But the beast was now leashed, ready for hoisting on high.